Maintenance Items
Calibrating your Modem / Tuning BER
See W0CHP’s video on how to calibrate your modem.
How to Update Modem Firmware
This document explains how you can update your modem firmware using the included modem firmware update utility in WPSD, wpsd-modemupgrade. There are two methods you may employ, described below.
Via the WPSD Dashboard
You can access the modem firmware tool via: Admin -> Advanced -> Modem Firmware Upgrade.
Via Command Line Interface/SSH
In an SSH session, you must run a specific command for your device type. The relevant device firmware upgrade commands are as follows:
Modem Type |
Command |
|---|---|
MMDVM_HS_Hat (14.7456MHz TCXO) GPIO: |
|
MMDVM_HS_Hat (12.2880MHz TCXO) GPIO: |
|
MMDVM_HS_Dual_Hat (14.7456MHz TCXO) GPIO: |
|
MMDVM_HS_Dual_Hat (12.2880MHz TCXO) GPIO: |
|
|
|
ZUMSpot RPi boards/hotspots GPIO: |
|
ZUMSpot RPi duplex GPIO board/hotspots: |
|
ZUMspot USB stick: |
|
ZUMspot Libre Kit or generic MMDVM_HS board: |
|
|
|
DVMega - Pi Hat (Single or Dual Band) GPIO: |
|
DVMega - Shield for Arduino Uno USB (ttyUSB0): |
|
DVMega - Shield for Arduino Mega USB (ttyUSB0): |
|
DVMega - EuroNode hotspots (14.7456MHz TCXO) GPIO: |
|
|
|
SkyBridge hotspots (14.7456MHz TCXO) GPIO: |
|
|
|
NANO_DV NPi GPIO by BG4TGO: |
|
NANO_DV USB by BG4TG: |
|
Nano_hotSPOT by BI7JTA (14.7456MHz TCXO) GPIO: |
|
Nano_hotSPOT Duplex by VR2VYE (14.7456MHz TCXO) GPIO: |
|
LoneStar LS MMDVM USB (14.7456MHz TCXO) USB: |
|
HS_HAT_AMBE (14.7456MHz TCXO) GPIO: |
|
MMDVM_HS_GENERIC (14.7456MHz TCXO) GPIO: |
|
MMDVM_HS_GENERIC_DUPLEX (14.7456MHz TCXO) GPIO: |
|
MMDVM_HS_GENERIC_DUPLEX (14.7456MHz TCXO) USB: |
|
|
|
Repeater - Nucleo64 F446RE GPIO: |
|
Repeater - Nucleo144 F767ZI GPIO: |
|
Repeater - MMDVM_RPT_Hat v0.2 GPIO: |
|
Repeater - MMDVM_RPT_Hat v0.3 GPIO: |
|
Repeater - ZUM Radio MMDVM for Pi v0.9 GPIO: |
|
Repeater - ZUM Radio MMDVM for Pi v1.0 GPIO (F4): |
|
Repeater - ZUM Radio MMDVM for Pi v1.0 GPIO (F7): |
|
Repeater - Repeater Builder STM32_DVM v3 GPIO: |
|
Repeater - Repeater Builder STM32_DVM v4 GPIO: |
|
Repeater - Repeater Builder STM32_DVM v5 GPIO: |
|
Repeater - Repeater Builder STM32_DVM_MTR2K v3 GPIO: |
|
Other Hints
To flash your modem with user-specified custom firmware, invoke the following command:
sudo wpsd-modem-flash_custom
To attempt to have the system detect the type of modem installed, invoke this command:
sudo wpsd-detectmodem
Notes
But what if I don’t know which modem I have or which firmware to choose?”
The most common boards we see are the “MMDVM_HS_Hat” boards and “MMDVM_HS_Dual_Hat” for duplex boards. When in doubt, you can always try those modem types. You can also invoke the ‘sudo wpsd-detectmodem’ command in WPSD to try detecting and displaying the board/modem type you have installed before you flash it.
If you have an obscure modem or an MMDVM repeater board, or if none of the above commands apply to your device type, you will need to download, compile, and install the MMDVM modem firmware or the MMDVM_HS hotspot firmware yourself. The modem firmware is outside the scope of WPSD, and you will be on your own. There are plenty of instructions on the Internet.
We are not firmware developers and offer no support for firmware. We provide programs to update the firmware for popular and common devices. You must utilize other support resources from the firmware developers/maintainers and the device vendors for actual firmware support.
Resetting WPSD
Reset WPSD Updater
Sometimes you will run into an issue where the updater hangs. It could be because the SD card is going bad. You can however run this command to reset the updater and force things into compliance; In an SSH terminal:
curl -fsSL https://wpsd-swd.w0chp.net/WPSD-SWD/WPSD-Helpers/raw/branch/master/reset-wpsd-sbin | sudo bash
Reset the WPSD Software
If you run into strange issues with WPSD, and have exhausted all other options, there is a non-destructive way to reset/reinstall the WPSD software; In an SSH terminal:
sudo reset-wpsd
This will forcefully reinitialize the WPSD software suite, but will keep all of your settings, profiles, etc.
If that fails as well, you can perform a Factory Reset (destructive, as you will need to reconfigure WPSD): Admin -> Configuration -> Factory Reset
Backup and Restore Configuration
The ability to backup (and restore) your configuration is not only provided, but highly recommended. It is possible that the solution given to an issue you may be experiencing may be to re-flash a new SD card, and restore your backup. This is the nature of the beast with a Pi, and not a limitation of WPSD.
WPSD provides a straightforward way to backup your hotspot configuration through its web interface. This backup includes all your settings, radio configurations, and personal preferences. Regular backups are recommended before making significant changes or updating your configuration.
Step-by-Step Backup Process
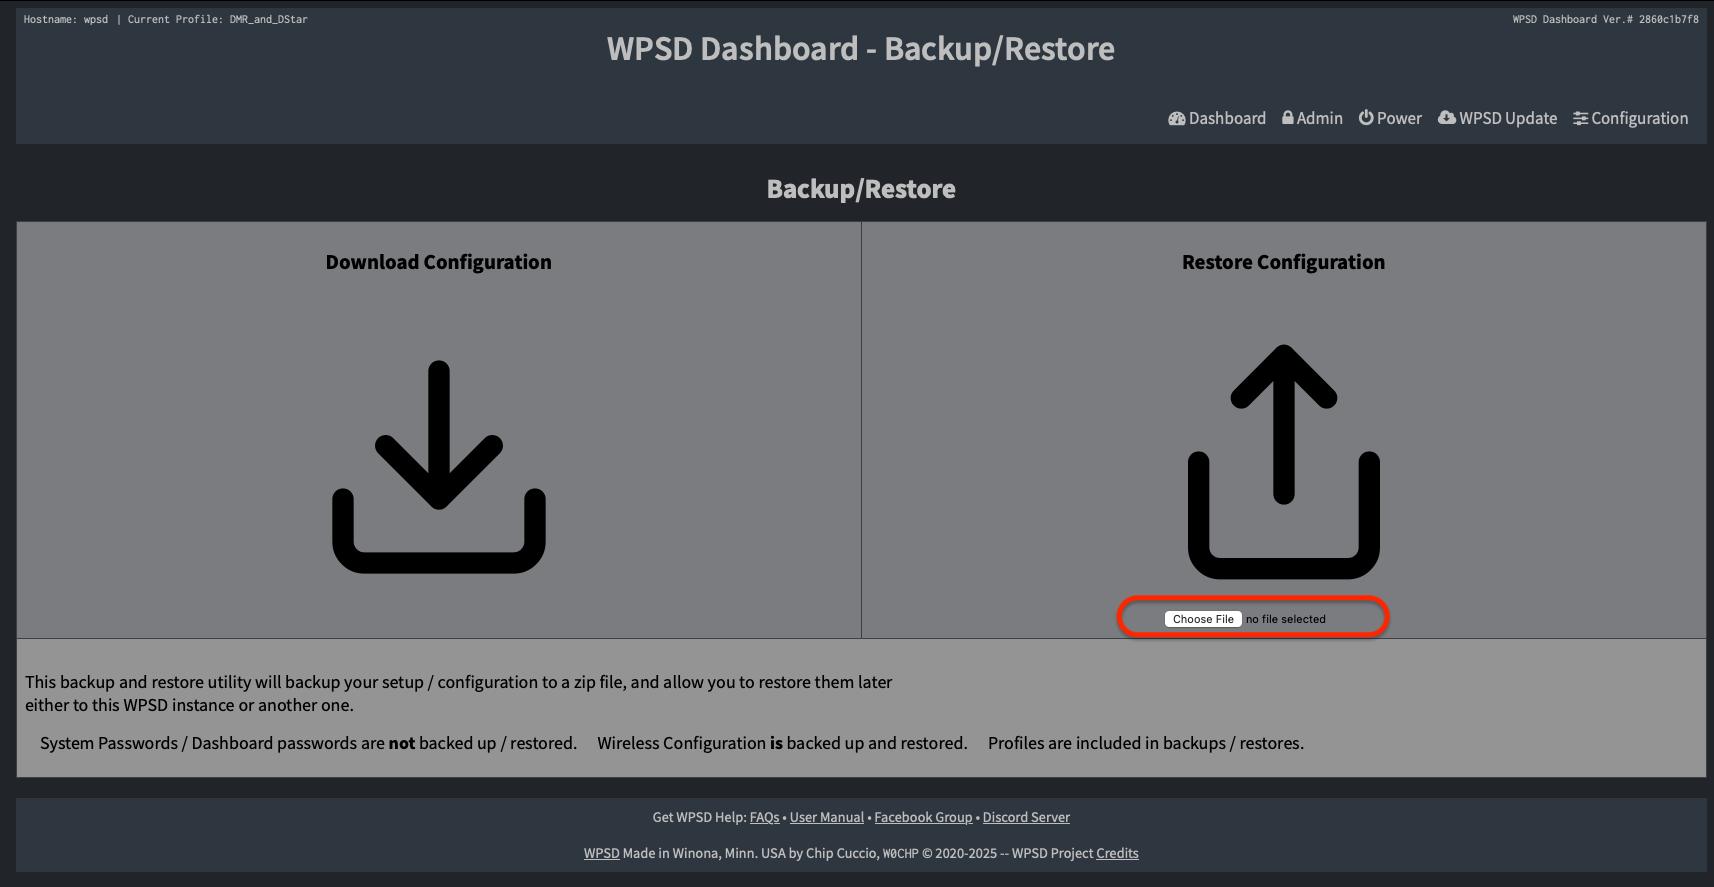
1. Access the Backup/Restore Page
Open your web browser and navigate to your WPSD dashboard (typically
http://wpsd.localor your hotspot’s IP address)Log in if prompted
Click on “Admin” in the navigation menu

Click on “Configuration” in the top navigation menu

Click on “Backup/Restore” in the top navigation menu

2. Initiate the Backup
Click the “Download Configuration” button

Your browser will automatically start to download a file named
WPSD_Config_<hostname>_YYYY-Month-DD.zipwhere <hostname> is the hostname of the hotspot, typicallywpsd(or whatever you named the hostname).
Note
Please note that
System Passwords/Dashboard passwords are NOT backed up/restored
Wireless Configuration IS backed up and restored
Profiles ARE included in backups/restores
Important Notes
Store your backup in a safe location
Consider keeping multiple versions of your backup
Label backups with meaningful names including the date
Step-by-Step Restore Process
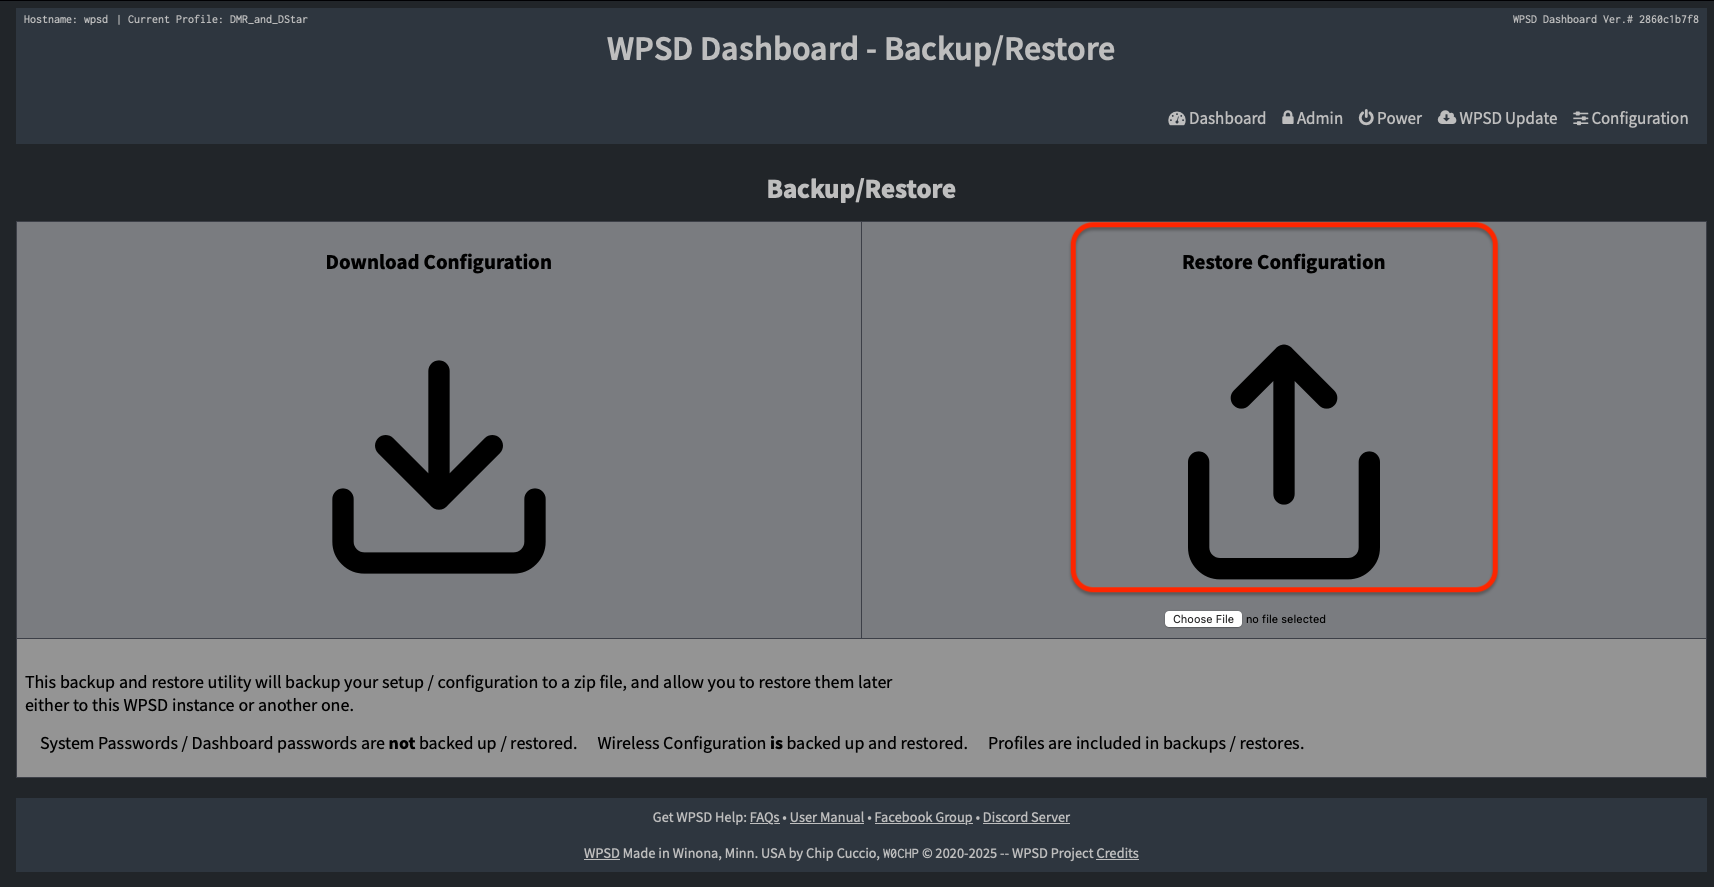
1. Access the Backup/Restore Page
Open your web browser and navigate to your WPSD dashboard
Log in with your credentials if required
Click on “Admin” in the top navigation menu
Click on “Configuration” in the top navigation menu
Click on “Backup/Restore” in the top navigation menu
Note
Consider creating a backup of your current configuration before proceeding
2. Upload and Restore
In the “Restore Configuration” section, click on “Choose File”
Navigate to and select your backup file
Click Ok
Click on the Upload icon DO NOT CLICK MULTIPLE TIMES
There is no indicator other than the page refresh button changing until the process is complete
Wait for the restore process to complete
Do not close your browser
Do not power off your hotspot
The process can typically take 1-2 minutes
3. Post-Restore Steps
Verify you can access the dashboard
Check that your configuration has been properly restored
Verify radio settings
Check network configurations
Confirm operating modes
Todo
Add common issues and troubleshooting steps for backup and recovery.
Upgrade WPSD
Most of the time, updating WPSD happens automatically overnight, or when you manually click on the Update button. However, occasionally new versions of WPSD are released which require you to reinstall a new image to the SD Card. This typically happens when a new major version of the underlying operating system is released.
Upgrading to a new image can be done quite easily by following these steps:
Take a backup of your existing hotspot’s configuration by following the Step by Step Backup Process listed above.
Download the new image for your device and write the image to an SD Card. Follow the instructions in Installing the Software however stop after you have written the SD Card and before you boot the hotspot for the first time.
Tip
Use a new SD Card rather than overwriting your old SD Card so if something goes wrong, you still have a functioning system available.
Copy the
WPSD_Config_<hostname>_YYYYMMDD_HHMMSS.zipconfiguration backup file into the top level directory on the SD Card. Copy the zipfile as a single file, do not extract the contents.Insert the SD Card into the hotspot.
Boot the hotspot and access it via the web interface.
Important
The hotspot will take a while to load the first time it is booted as it has a list of things to do including expanding the filesystem to fill the SD Card and restoring your configuration. This might be a good time to read the rest of this manual.